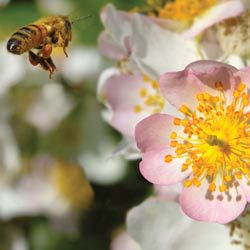
Every garden requires pollinators, and bees are among the finest. Without them there would be limited flowers and far fewer fruits and vegetables. Did you know that about 30 percent of the food we eat depends on the pollination of bees, including onions, cashews, coffee, carrots, chocolate and vanilla? If we don’t protect these prolific pollinators, our landscapes, gardens and diets will be irrevocably changed.
About Bees
Although there are many bees that are great pollinators, like carpenter, mining, sweat and cellophane bees, some of the most well known and easily identified bees are the honeybee and bumblebee. Both of these bees live in social colonies and are cavity nesters. Because these bees are active all summer long, they require a constant supply of floral nectar close to their hive and they thrive in flower gardens, orchards and other areas with abundant blooms.
Unfortunately, both these types of bees – along with many others – are disappearing rapidly, and two key threats are to blame.
- Habitat Loss: As more natural habitat is lost to development, there are fewer nesting locations and inadequate food supplies for bees. While meadows developed into resorts and parks disappearing for strip malls are obvious examples of development, other less visible developments that can hurt bees include widespread use of flower cultivars that do not produce adequate nectar, eliminating critical bee food sources.
- Pesticide Drift: Widespread, abundant spraying of pesticides to protect crops, lawns and parks can inadvertently hurt bees. Stronger pesticides can kill bees directly, while less potent toxins can contaminate nectar and will gradually build up to fatal levels in bees’ systems. Even if pesticides are not sprayed in areas where bees are abundant, high level spraying can easily be spread by wind patterns into critical bee habitats.
Inviting Bees to Your Garden
Fortunately, it is easy to bring more bees to your garden and encourage healthy bee populations. To support local bees…
- Planting a variety of flowers that will bloom throughout the entire summer to provide ongoing food supplies.
- Opt for native flower varieties that will be more easily recognized and used by bees, instead of introduced flowers that are less familiar.
- Eliminate chemical use in your yard, as much as possible, including on your lawn, garden and trees, especially while plants are in flower.
- Provide bees a safe place for shelter and to lay their eggs. A wood pile is suitable, or you can invest in a specialized bee house.
- Make sure that there is an available water source for your bees. A bird bath or any simple water basin works just fine.
Want to bring bees to your yard and help them feel at home? Start with this list of native plants bees love, and ask our experts for more tips about keeping your lawn and garden bee-friendly!
Native Plants That Attract Bees
- Apple (Malus)
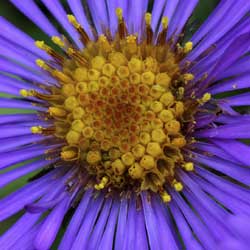
- Aster (Aster)
- Blackberry & Raspberry (Rubis)
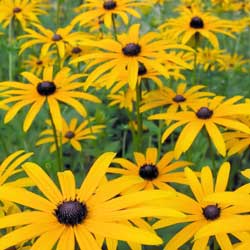
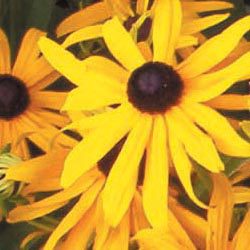
- Black-Eyed Susan (Rudbeckia)
- Blueberries (Vaccinium)
- Currant (Ribes)
- Elder (Sambucus)
- Goldenrod (Solidago)
- Highbush Cranberry (Viburnum)
- Joe-Pye Weed (Eupatorium)
- Penstemon (Penstemon)
- Purple Coneflower (Echinacea)
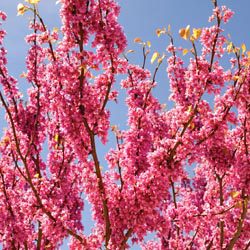
- Redbud (Cercis)
- Rhododendron (Rhododendron)
- Sage (Salvia)
- Stonecrop (Sedum)
- Sunflower (Helianthus)
- Willow (Salix)
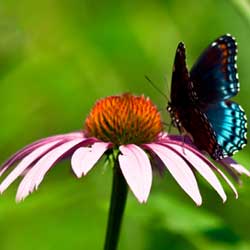

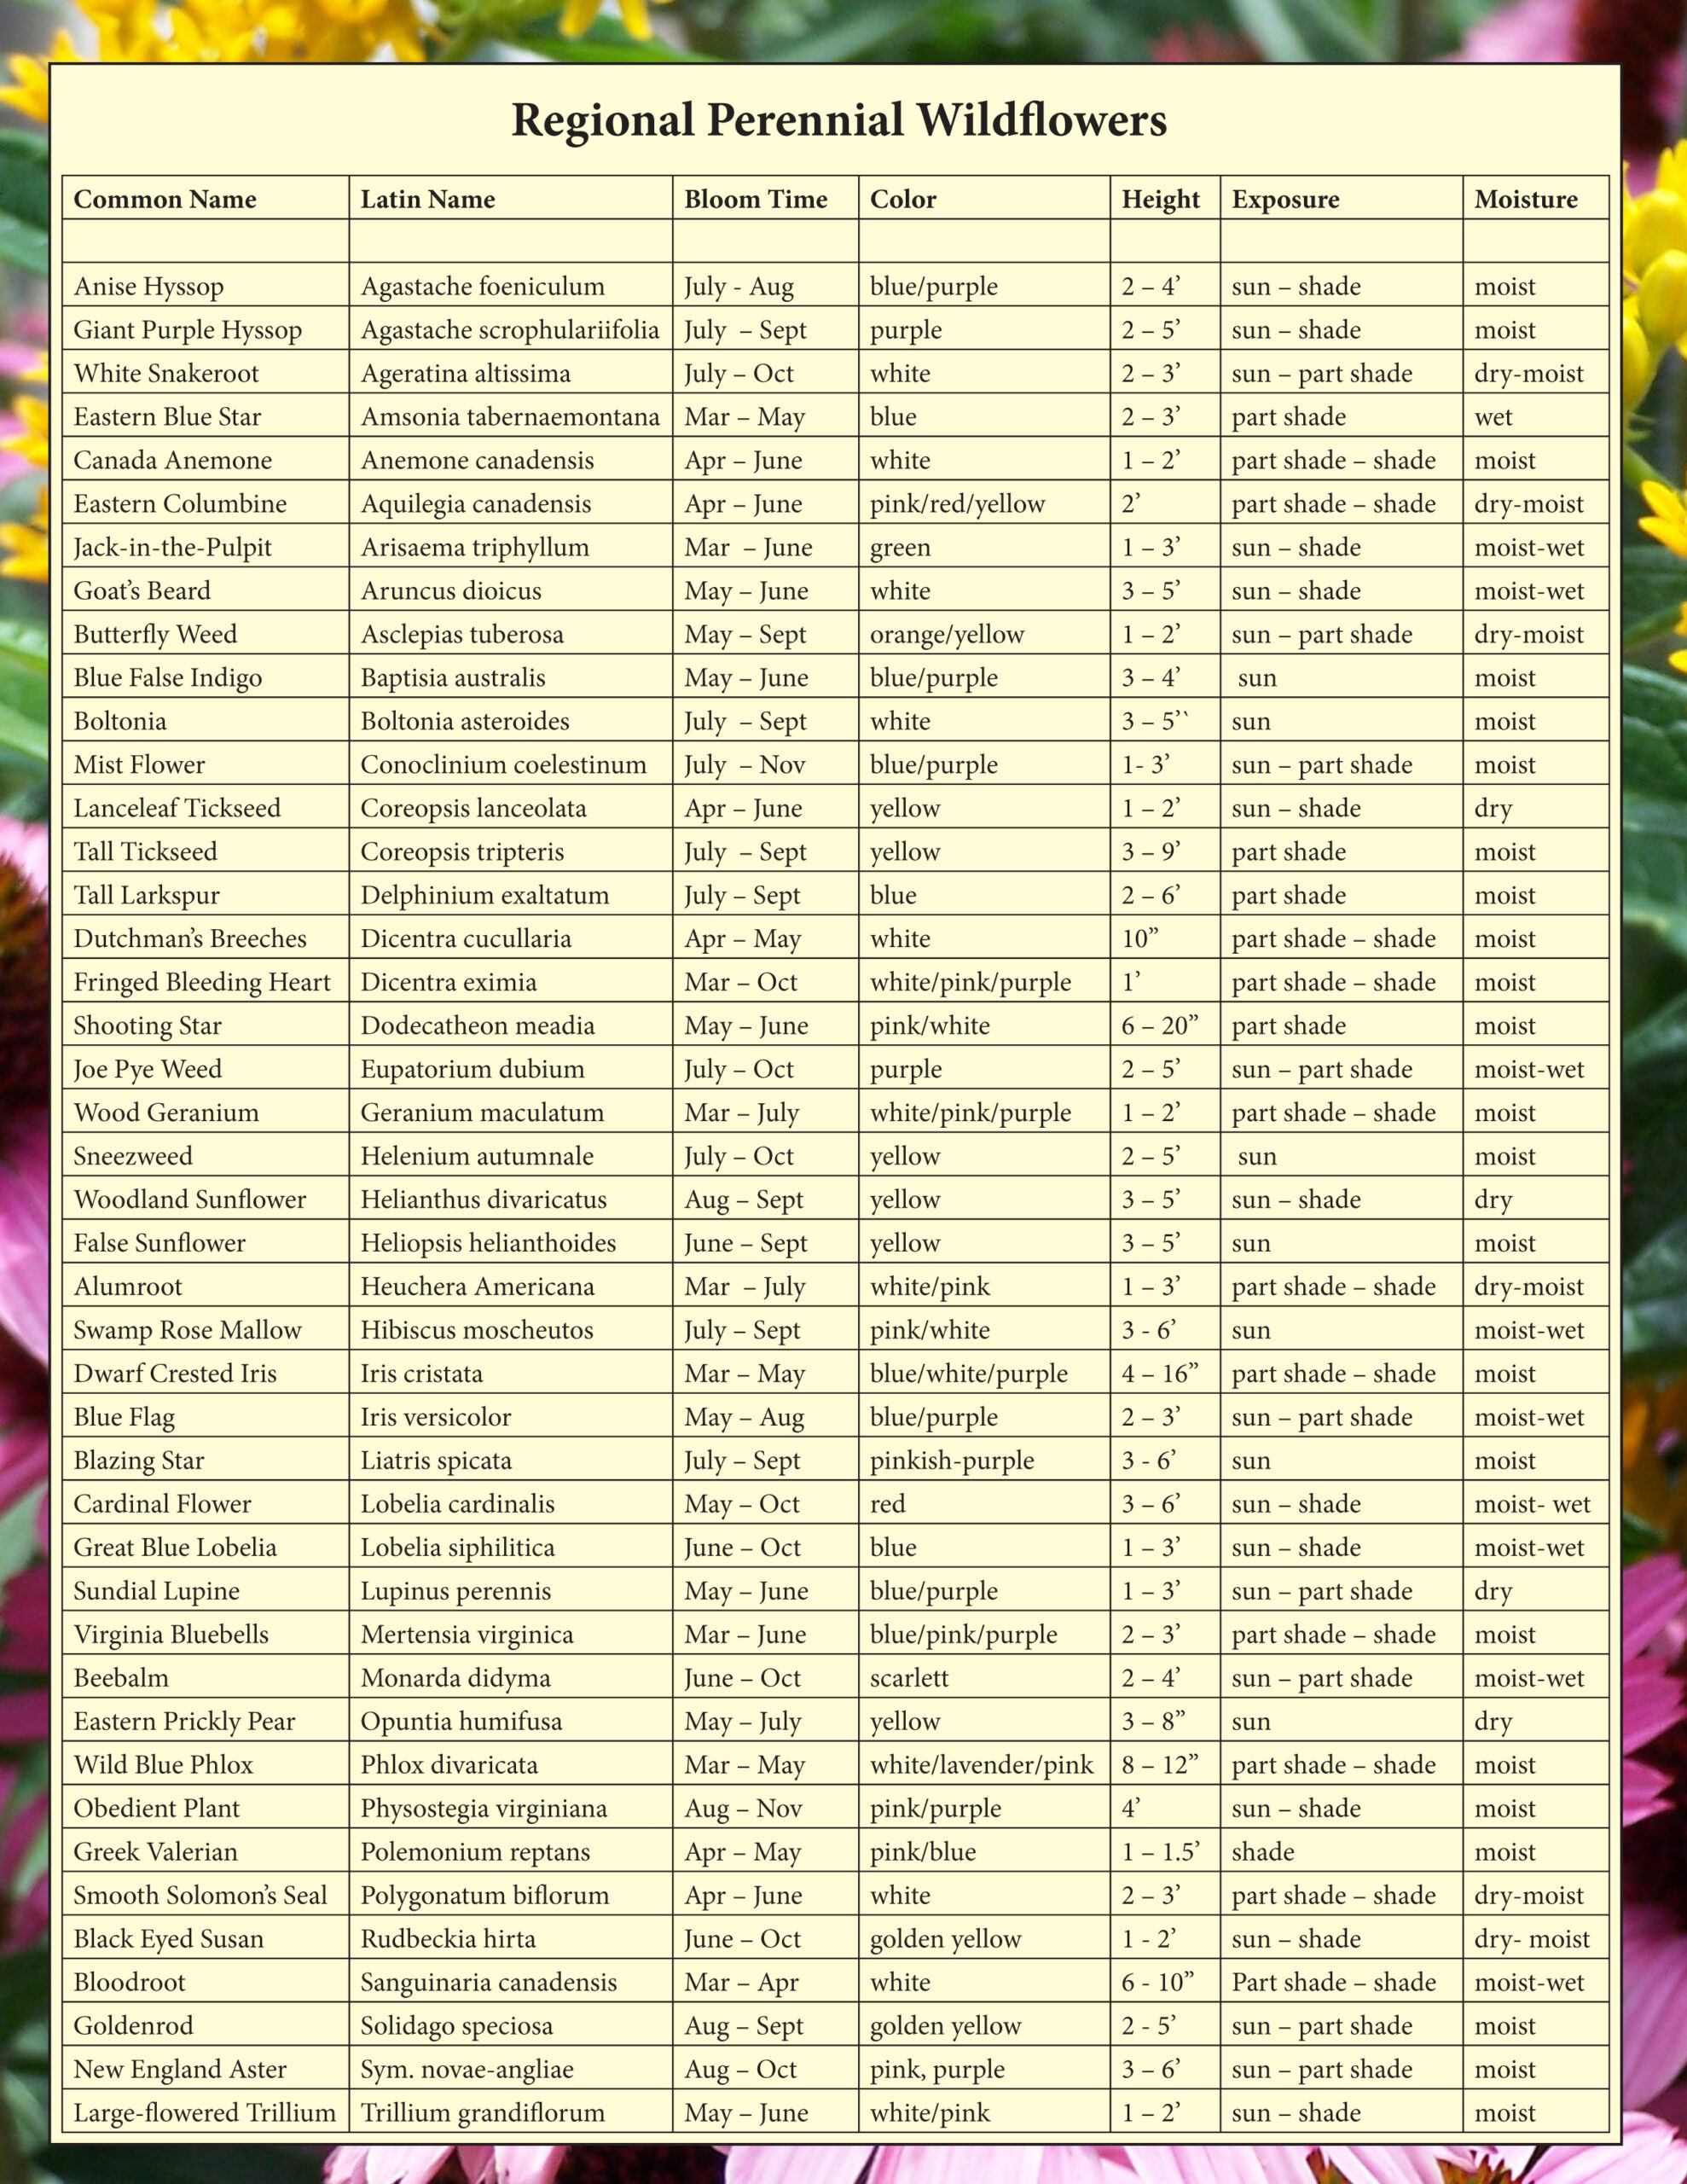
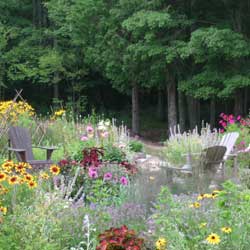
 There’s no need to sacrifice beauty when designing or redesigning your yard or garden to be more nature-friendly. Naturescaping is an approach to garden and landscape design that will help save time, money and energy while providing an attractive and healthy habitat for wildlife and people. Readily available native wildflowers can add remarkable beauty to your environment, and since they are adapted to our climate and soils, they require little, if any, supplemental watering, fertilizing or care and are less susceptible to pests and disease. Native plants also attract a variety of native birds, butterflies, moths and bees essential for pollination. As an added bonus, native wildflowers are often less expensive to purchase, and you may even be able to get some varieties free by sharing with neighbors, botanical gardens, wildlife centers or extension services that are encouraging more native planting.