Deadheading should be a regular garden task to maintain beautiful blooms, but why? What is the purpose of deadheading, how does it affect flowering plants, and how can you do it more effectively to make the most of every bloom?
About Deadheading
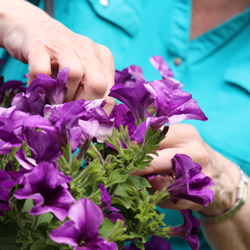
Deadheading is simply the process of removing faded, wilted, browning, or dead flowers from annuals or perennials before seeds are produced. Depending on the size of the flower and its type of stem, deadheading can be done by gently pinching back stems, snapping off the blooms, plucking off spent flowers, or cutting the stems with sharp snippers or pruners.
Why You Need to Deadhead Your Flowers
When you remove wilted blooms, you immediately improve the appearance of your shrubs and flowering plants by leaving only the best, most colorful, richest flowers to enjoy, and fallen petals will not spread rot or fungus to the plant’s lower leaves. Deadheading can also help your plants keep a tidy shape and will encourage fuller foliage. Removing dead flowers also lengthens the bloom time by forcing the plant to produce more flowers, and because dead blossoms are removed before they go to seed, you avoid unwanted seedlings taking over the lawn or flowerbed.
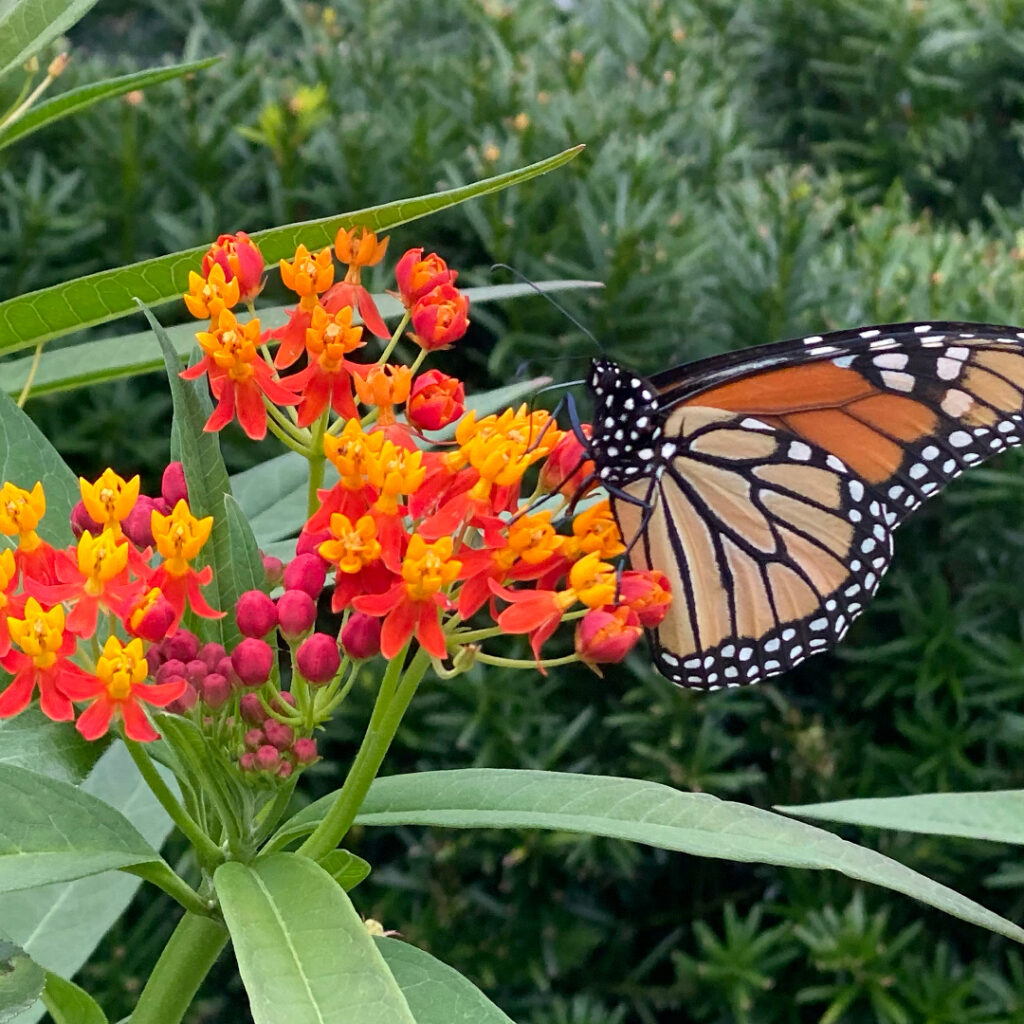
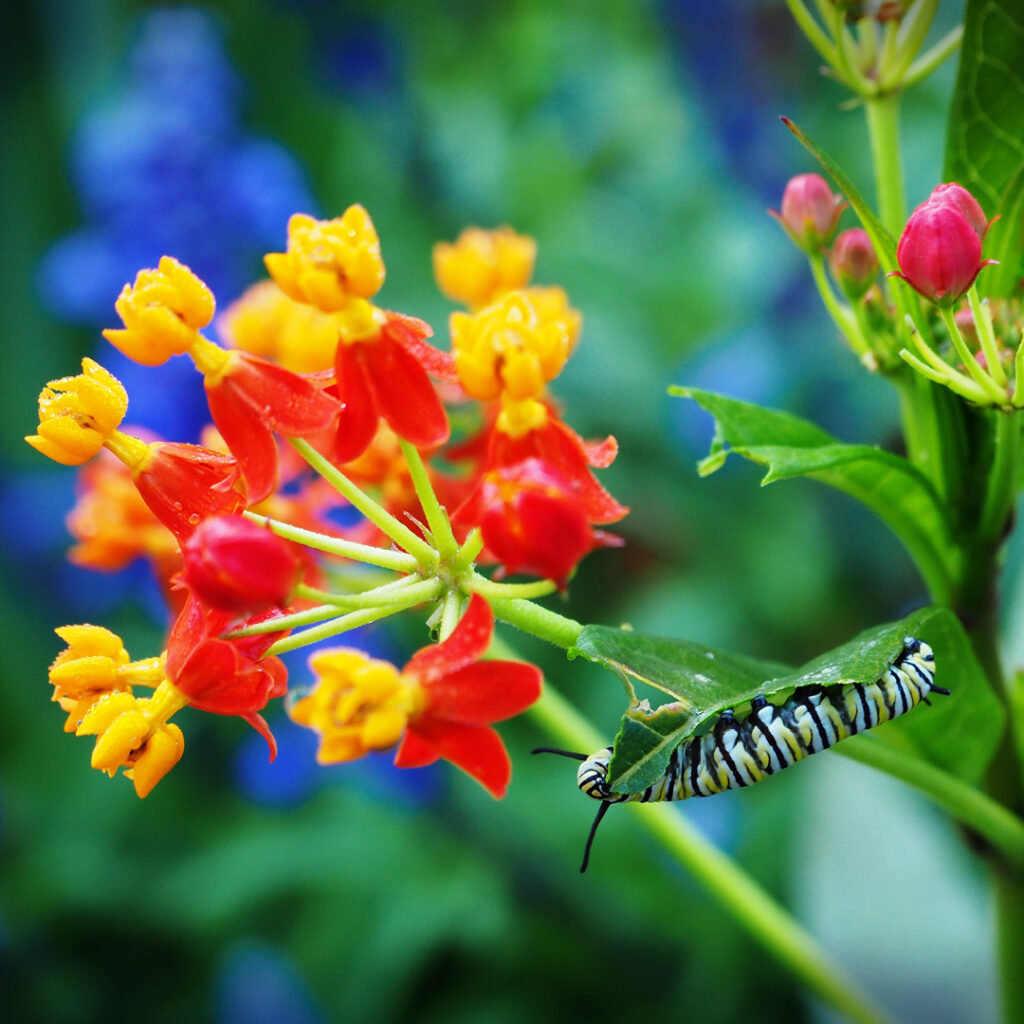
Deadheading also helps wildlife, as many butterflies and hummingbirds thrive on the nectar from boldly blooming flowers, so a longer bloom time and extra flowers will attract more of these colorful visitors to your yard. Extra blooming can also bring more color to your landscape later in summer and even into autumn for even more interest in your yard and landscape.
Some of the more familiar and widespread flowers that benefit from deadheading include…
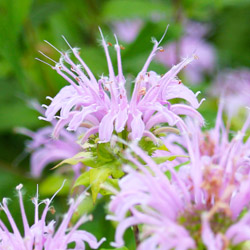
- Bee balm
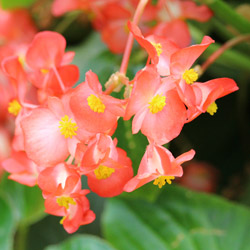
- Begonia
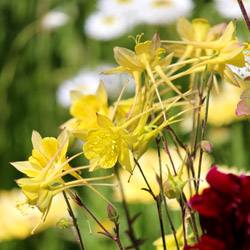
- Columbine
- Geranium
- Lavender
- Petunia
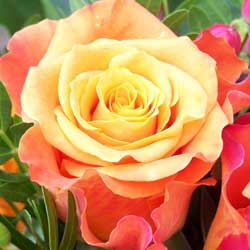
- Rose
- Salvia
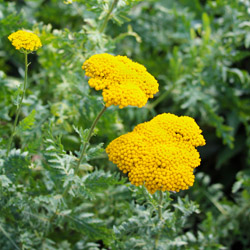
- Yarrow
Ask your garden center experts about the need to deadhead other types of flowers, including which deadheading techniques that can best benefit each plant.
How Deadheading Affects Plants
The visual affects of deadheading are immediate, but just how does deadheading impact each plant? As blooms begin to fade, plants focus their energy and growth on seed production rather than new blooms. When the blooms that are past their prime are removed through deadheading, however, the plant is effectively tricked into creating more blooms, thus increasing the overall bloom season. This is particularly important for annuals, as they only live for one growing season, so it is best to extend that bloom time for as long as possible. Furthermore, annual seeds are often unnecessary, as the plants will generally be replaced in the landscape the next spring. With perennials, deadheading has the same effect, and the process will help keep the plant’s shape and produce more prolific blooms for colorful accents.
Tips for Deadheading Your Flowers
Deadheading is an easy garden task, but it can quickly become overwhelming, particularly if you have many flowering plants to tend. Instead of letting the chore build up, consider spending a few minutes each day deadheading. That time can be a peaceful and soothing way to connect with nature without a lengthy commitment and will help keep the landscape lovely. Staggering the deadheading will also mean fewer flowers to cut away from each individual plant, minimizing the stress to the plant so it can continue to flourish. As you work, examine the plants carefully for any other signs of trouble, such as pests or diseases, so they can be taken care of right away.
When cutting away spent blooms, use the appropriate pruners or snippers to make clean, neat cuts for the least trauma to the plant. Small, clean pruners with sharp tips are a great choice, as they will more easily reach into the plant’s foliage for thorough deadheading. Keeping a small bucket or basket nearby to collect the cut blooms will make cleanup easy, and the trimmed flowers can be added to a compost pile or otherwise properly disposed of.
When cutting stems to remove wilted flowers, cut below the spent flower but above the first set of full, healthy leaves or approximately one-quarter inch above a new emerging bud. This will encourage new growth to keep the plant’s overall shape and fullness. Larger stems, such as mature rose bushes, should be cut at a 45-degree angle to minimize the risk of disease and damage to the plant.
Clean deadheading shears and pruners with rubbing alcohol, often, to minimize the risk of spreading disease, fungus, or pests between plants. Wearing gloves can protect your hands from thorns or sharp foliage, and a good garden hat is essential to protect yourself from the sun as you twist and turn to reach each wilted bloom.
After deadheading, water your plants carefully and use appropriate fertilizer regularly to nourish new growth as the plants produce even more blooms.
Deadheading is an easy garden chore, one that can be a tranquil time to tend your landscape or a great opportunity to involve children in essential tasks. By understanding how deadheading improves your plants and adds even more color to your landscape, you will happily take care of this task and enjoy the benefits it brings to every blooming plant.