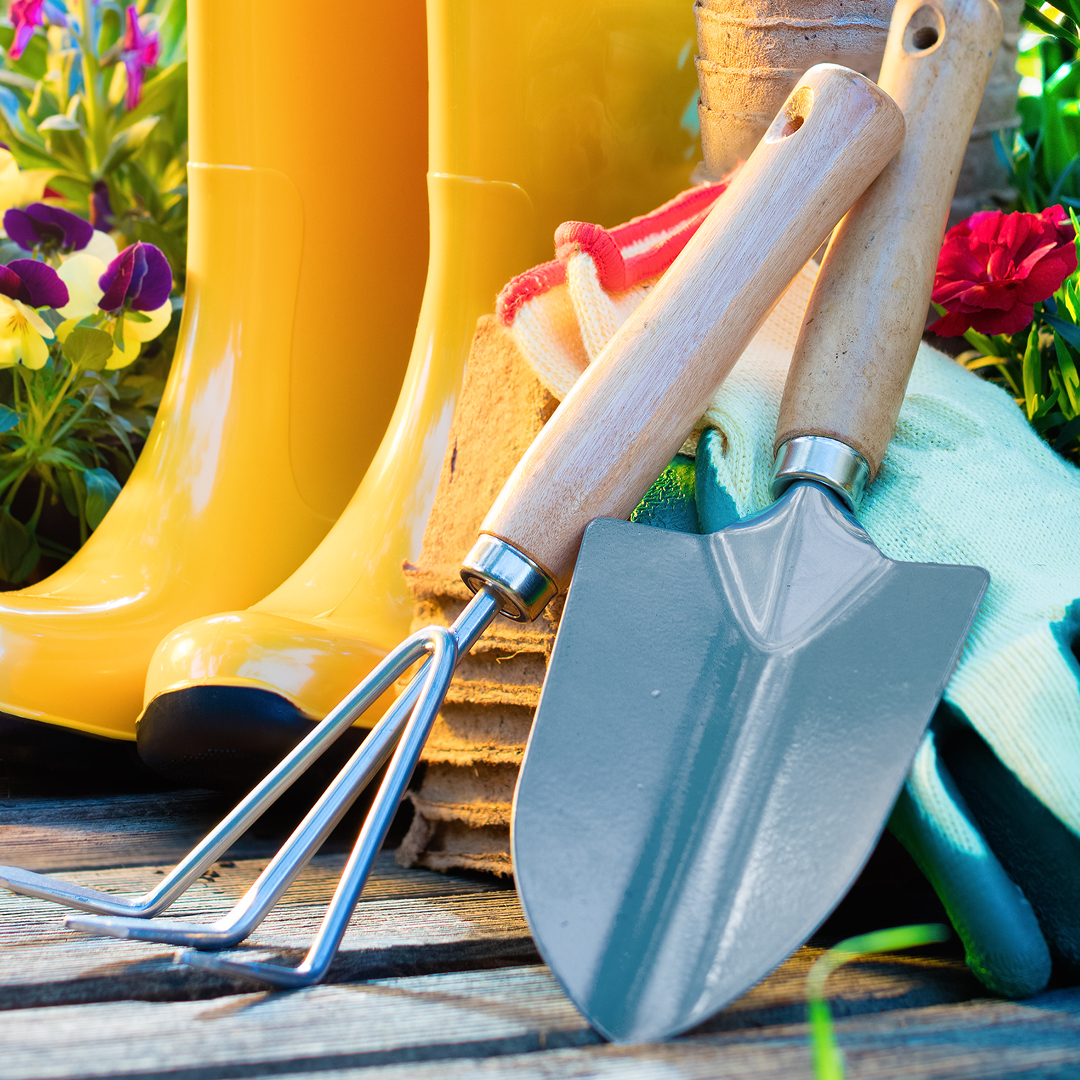
You don’t need a sun-drenched space to grow a nutritious, delicious vegetable garden. Whether your urban garden is balanced on a deep balcony, tucked into a narrow side yard, or hidden by a privacy fence, there are many shade-tolerant vegetables you can easily grow for a bountiful harvest.
How Much Shade Do You Have?
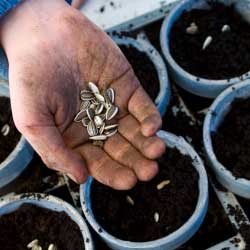
Before planting, study your shady space to determine how much shade and sunlight you may really have. Even in a shaded garden, the sun may peek through at different times of day, or shadows shift through the seasons to bring more sunlight into the area. Some vegetables do well in partial shade, but all will benefit from some intermittent or filtered sunlight. Keep in mind different vegetables’ growth rates and times to maturity to ensure you select varieties that will do well in your shade garden even as the light may change during the growing season.
Best Shade-Tolerant Vegetables for the Urban Garden
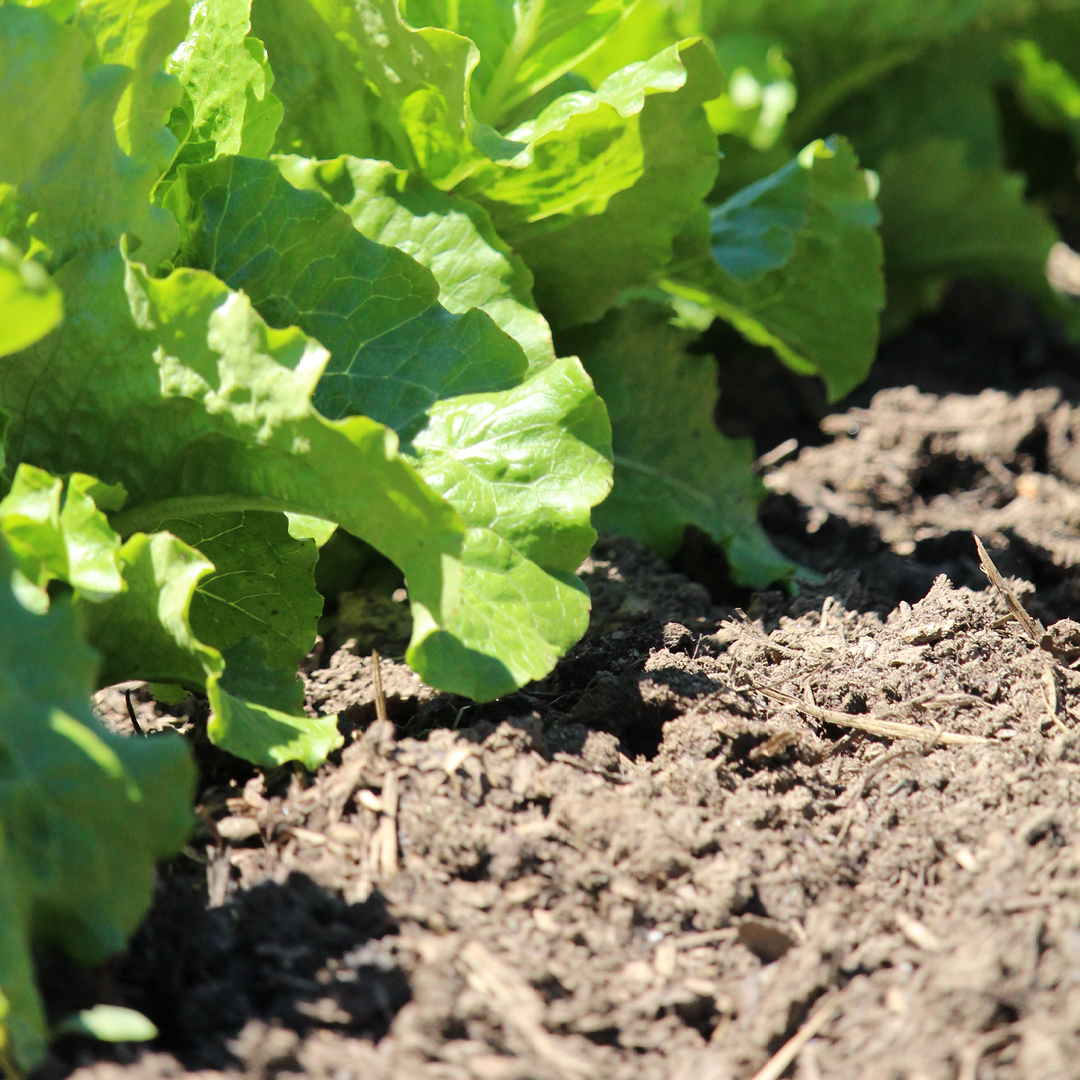
Vegetables that sprout edibles from blossoms – tomatoes, cucumbers, peppers, etc. – tend to need abundant sunshine to produce well. Root vegetables or leafy edibles, however, are excellent choices for the shadier garden. There is a surprising variety of part shade-tolerant vegetables that can have productive yields even without full sun, including…
- Arugula
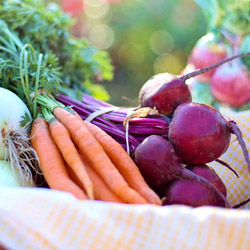
- Beets
- Bush beans
- Bok choi
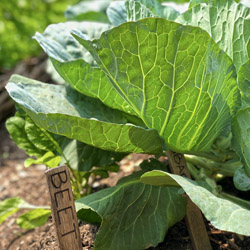
- Cabbage
- Carrots
- Chard
- Collards
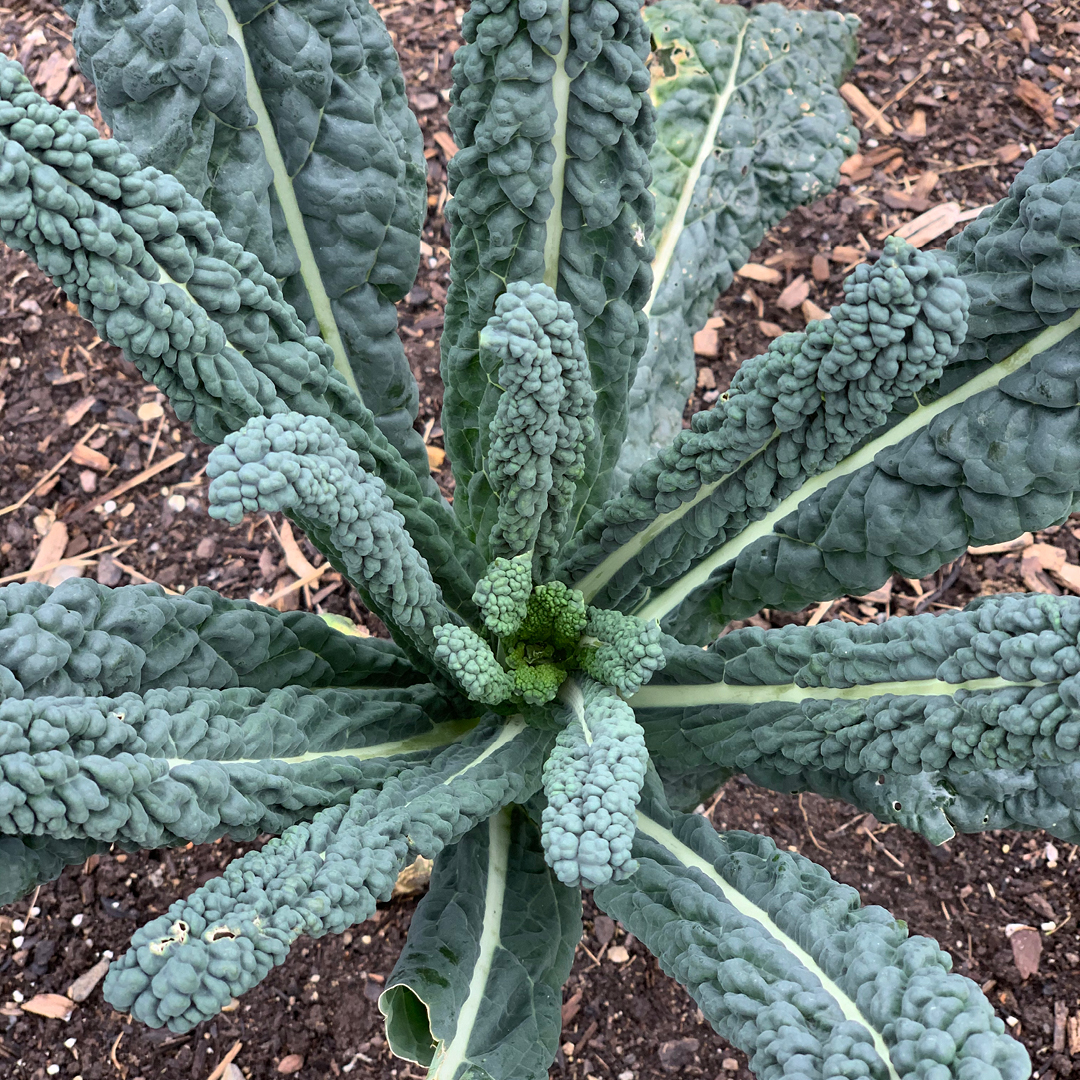
- Kale
- Lettuce
- Parsnips
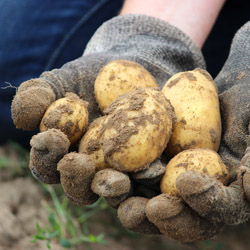
- Potatoes
- Radicchio
- Radishes
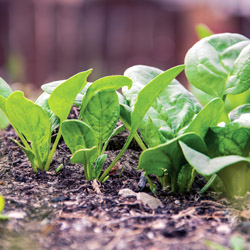
- Spinach
- Turnips
In addition to leafy greens and root vegetables, many flavorful herbs also perform well in a semi-shady situation and can add a tasty touch to your garden. Consider adding cilantro, parsley, oregano, or mint to your urban garden for extraordinary flavor with all your vegetables.
No matter which vegetables or herbs you plant, be aware that some crops may take slightly longer to mature in the shade, but they will still perform well when given the proper care and appropriate patience before harvesting.
Maximizing Your Harvest
To make the most of all the shade-tolerant vegetables you plant, you can take steps to maximize their sun exposure and keep them healthy and productive. For example, painting nearby walls or fences white or pale blue can help reflect sunlight onto the plants, and reflective mulches can similarly reflect light up onto the leaves for a bit of extra sun exposure. With just a bit more sun, even shade-tolerant produce will perform better.
Mirrors in the garden are also an excellent way to increase available sunlight. Place mirrors in the sunniest area of your garden and direct the sunlight toward the shadiest corners. Mirrors can also make for attractive garden ornamentation making your garden space appear larger than it actually is.
Make the most of your planting space by using vertical techniques. Tiering crops and using arbors, trellises, and other supports will create more growing space without blocking what sunlight does reach the area.
Finally, be sure you give every plant the best of care with Espoma Garden Tone fertilizer and good watering practices so it can reach its full potential and most productive harvest. Be on the lookout for garden pests that can decimate your crop before you have a chance to enjoy it. When controlling pests on food products, always begin with the safest control method possible.
There are a surprising number of vegetables that do very well in semi-shaded spaces, making them perfect for urban gardens or anywhere sunlight may be at a premium. By choosing the right vegetables that will thrive in the area and giving them proper care, you can create an amazing harvest even if you aren’t able to take advantage of full-sun growing space.