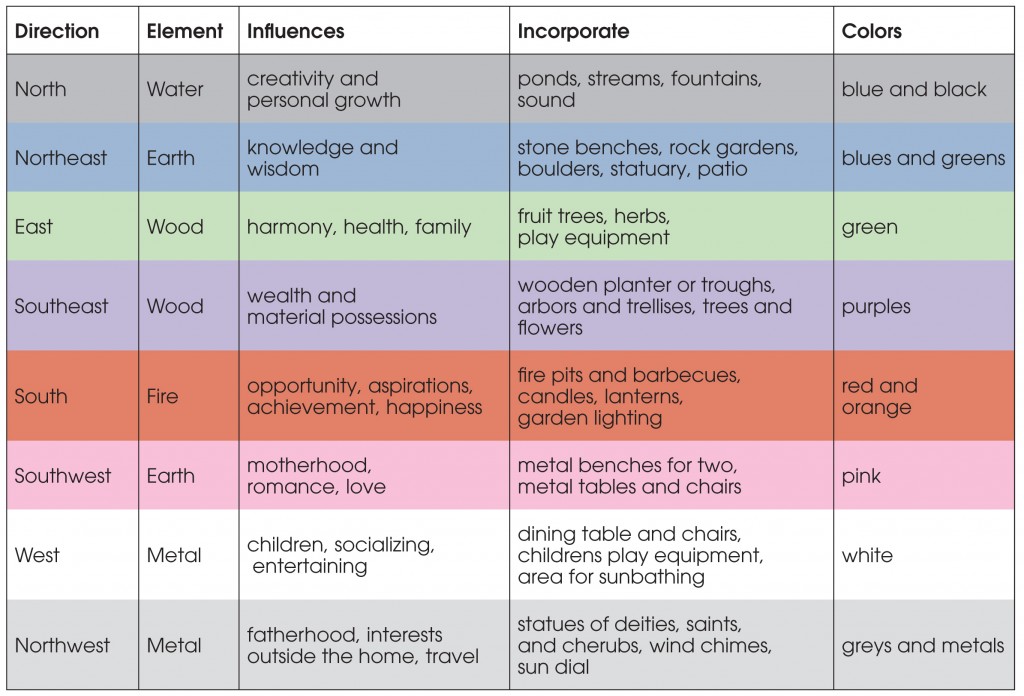
Feng Shui is the ancient Chinese philosophy that believes in attracting and guiding the flow of cosmic energy to influence your health, wealth and happiness. If you are already familiar with Feng Shui, you should know that it is assumed by many that the same fundamental principles that apply to your home also apply to your garden, maybe even more so since the energy in your home is brought in from the outside..
Feng Shui means ‘wind’ and ‘water.’ According to Chinese tradition, everything in the world contains ch’i, the cosmic life force. Ch’i means to flow freely like wind and water, but it is alleged that its movement can be blocked or trapped. This, it is believed, can cause disharmony or misfortune in your life. The movement of ch’i is thought to be influenced by several things such as colors, shapes and sound. The purpose of Feng Shui is to ensure that ch’i is flowing smoothly and gently without being allowed to stagnate or move too quickly. This harmony in your environment is understood to create harmony in your life.
Bringing Harmony to Your Garden
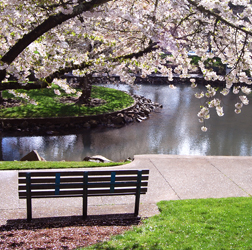
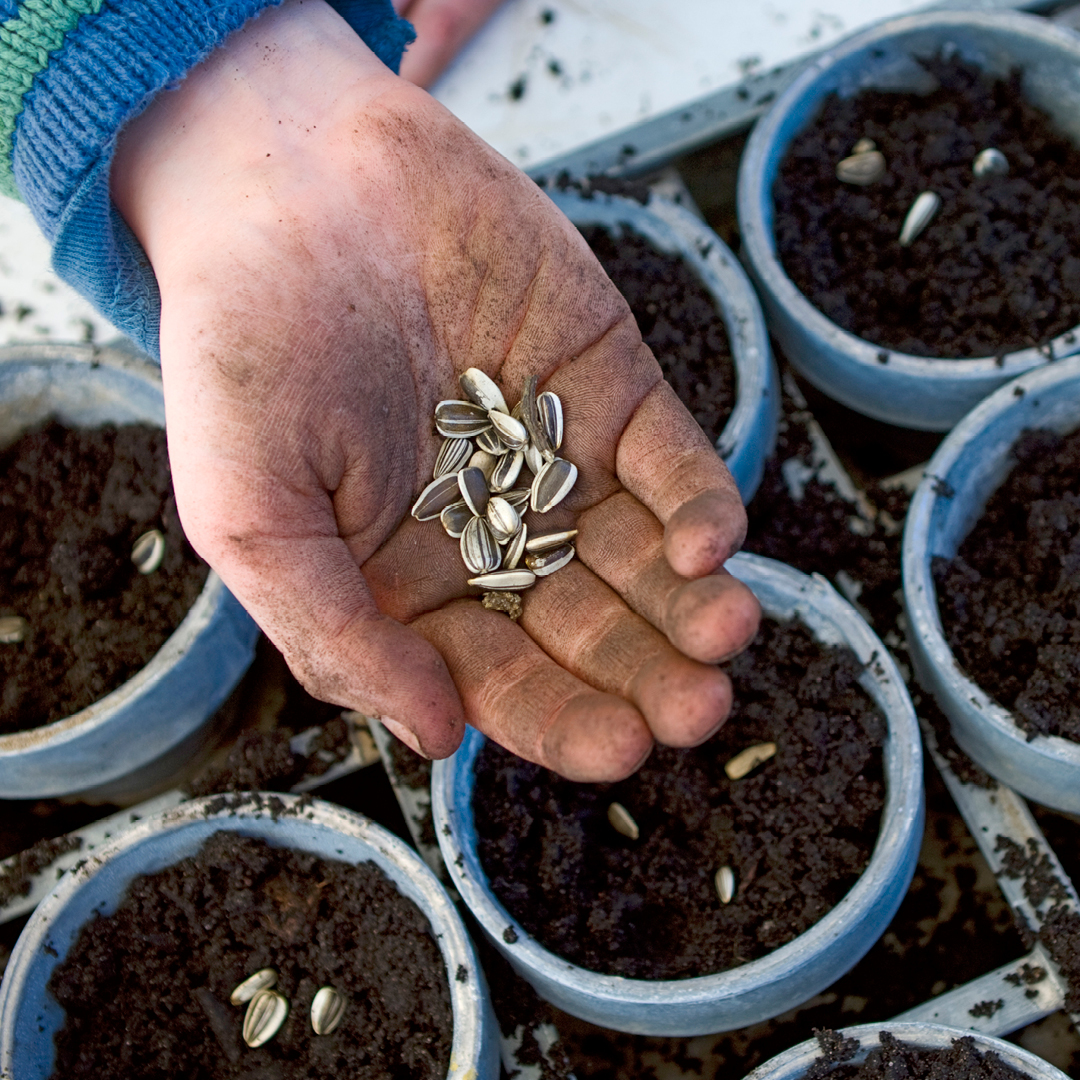
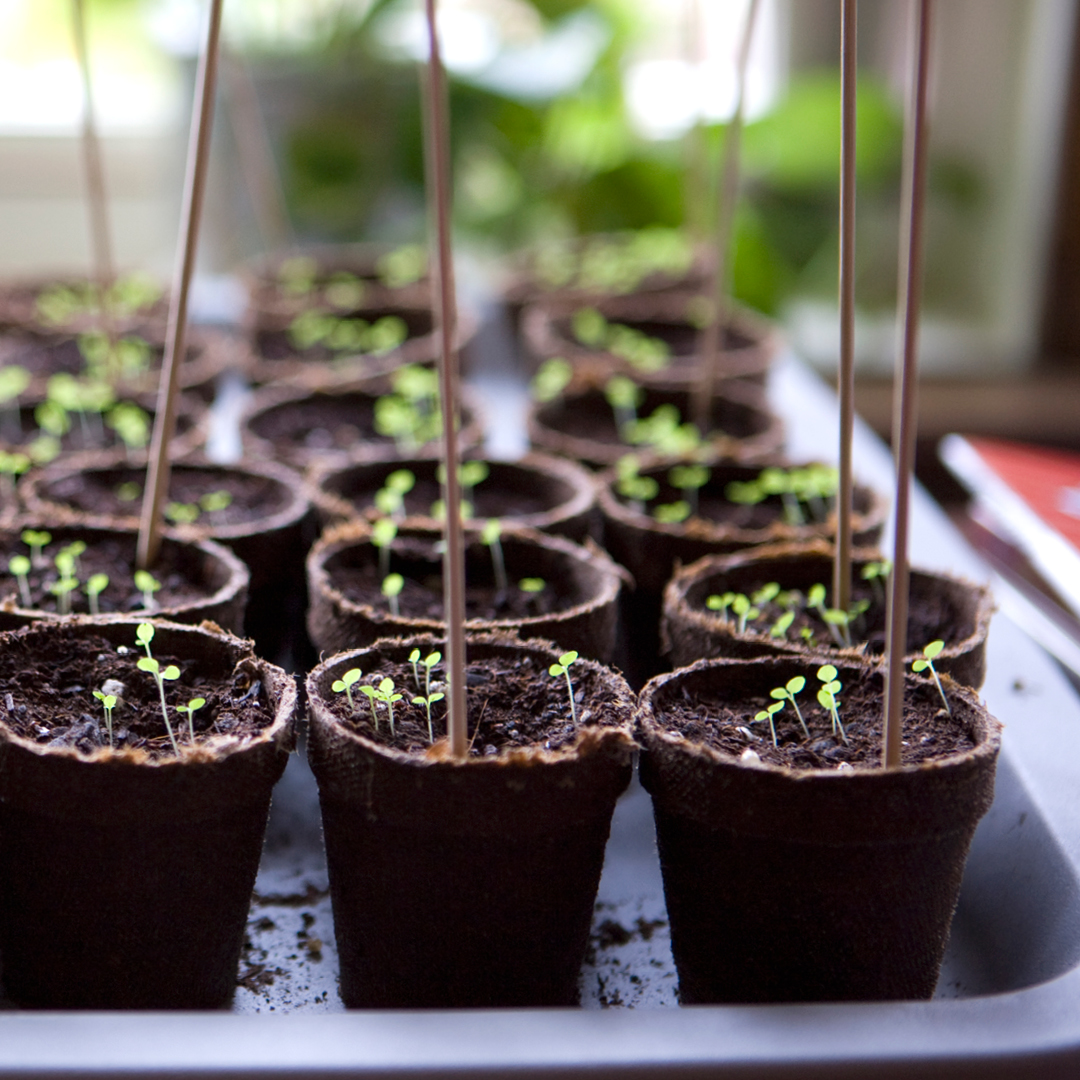
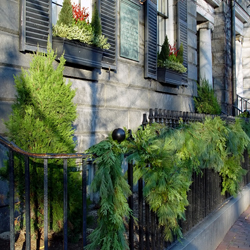
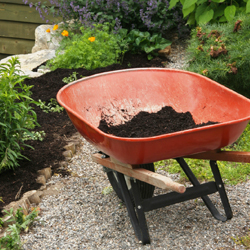
Feng Shui starts with basic gardening maintenance. Ch’i is believed to stagnate in areas where junk accumulates. Clean up your patio or deck and screen your garbage cans from view. Throw away any broken pots, planters or tools. Good cultural practices are also considered important in the flow of ch’i. Mow your lawn, pull up weeds, edge your beds and remove dead plants. Prune any broken or damaged limbs, stake plants and take steps to control insects and disease.
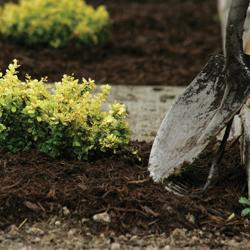
Ch’i requires smooth curves to flow. It is funneled by straight lines but impeded by sharp angles. It does not need to be costly or time consuming to remedy these types of structural problems. A straight walkway can be softened with the addition of curved beds on either side. You may also try planting perennials that mound or spill onto a walkway to break up straight lines. To help ch’i flow gently around corners, consider the addition of a tree, shrub or climbing vine. A curved bench or fountain is another option.
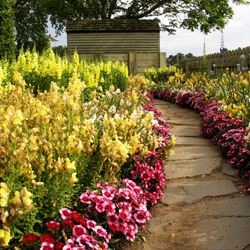
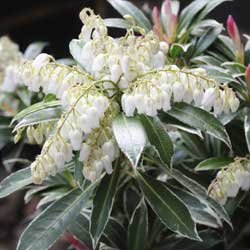
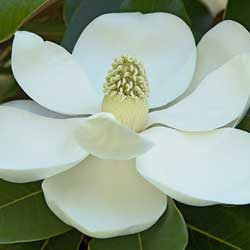
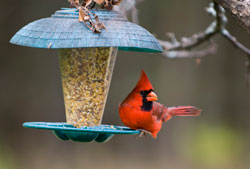
Bright colors, especially red, are used in Feng Shui to attract ch’i. Poor Feng Shui, it is believed, is remedied by placing the five elements recognized by the ancient Chinese – wood, fire, earth, water and metal – in their appropriate direction to beneficially affect the movement of ch’i.
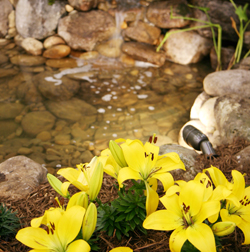
Why not try some of the elemental remedies below in their appropriate directional orientations? They may assist with the flow of ch’i in your garden and perhaps you will reap the benefits of good fortune Feng Shui reportedly imparts.
Feng Shui Remedies